WTJ Store Header Section
Model Comparisons | Cleaning | Trimming |
About DLP Miniatures
The grey DLP models we sell are usually made for larger scales and accessories ranging from 1/1500 to 1/600 scales. These models are solid grey, have well defined edges and do not require oil/wax clean-up. In place of the wax, the DLP grey models have numerous tiny plastic vertical supports which are removed by slicing them off with an Xacto knife or equivalent (this tends to limit the size DLP can print at due to the size of gun barrels versus their supports). The resistance to higher temperatures of the DLP grey is less than the printed models - I would not leave them locked in a hot car on a 100º day (temp limit for warpage appears to be about 150º). The DLP grey models are slightly more flexible than the printed models but experience less "barrel droop" than the printed models due to the solid mechnical supports. The material is very tough; I tried to break off a test gun barrel and the only way I was able to do it was by pinching it between my fingers and physically tearing it off.

For both model types, no assembly is required. Please feel free to direct any questions to webmaster@wtj.com.
Close-up view of a DLP model showing the mechanical supports on the gun turret at left, and another gun turret at right with the supports removed from beneath the barrels. Above the right turret can be seen other supports for superstructure (also another small supports are visible beneath the lifeboats). All models are shipped with their supports in place, which should be removed before primering and painting.
Cleaning DLP Models
The DLP models you receive have been cleaned in alcohol and should be ready to trim and primer. If you notice any small residue spots on the surface, you can do a quick IPA (isopropyl alcohol) rinse. Do not soak the models in alcohol, the plastic will absorb it causing warpage. If that happens by accident, let the model fully dry and it should return to normal.
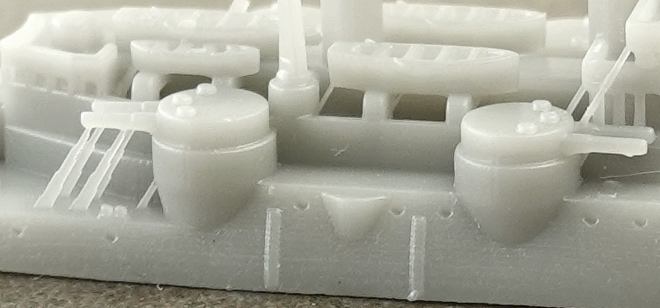

Trimming Models
DLP models will need to have their many tiny support sprues manually removed before priming and painting. The best way to remove them is with a very fresh, sharp razor blade and a fresh #11 x-acto knife. First use the razor blade corner to slice the top (or bottom) of each support - for gun barrels I usually use the very corner of the fresh razor blade to first gently slice through the support where is joins the barrel. Once you have cut most or all of the way through one end of the support, you can use the x-acto knife to leverage away the rest of the support. Careful use of the razor corner is the best way to remove the supports without snapping off fragile features (if any).